API Authentication Explained: API Key vs JWT vs OAuth 2.0
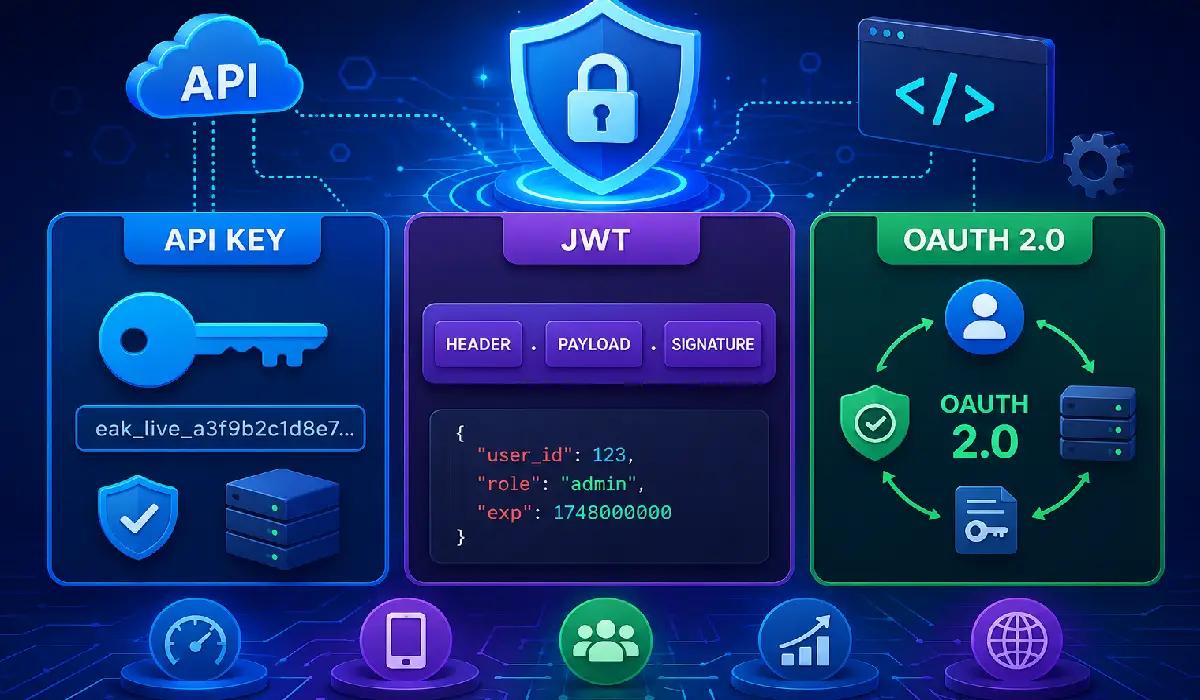
You've built your API. Users can fetch data, create records, and delete entries. But here's the scary question: who is allowed to do that?
Authentication is the first line of defense for any API. Get it wrong, and anyone on the internet can access your data. In this guide, we compare the three most popular methods: API Keys, JWT, and OAuth 2.0.
Why Does Authentication Matter?
Without proper authentication, your API is essentially an open door. Any developer, bot, or malicious actor can call your endpoints and access or manipulate sensitive data. Authentication ensures that only trusted clients with valid credentials can interact with your API.
Here's what can go wrong without it:
- Unauthorized data access or leakage
- API abuse and rate limit exploitation
- Data tampering or injection attacks
- Compliance violations (GDPR, HIPAA, etc.)
The right authentication method depends on your use case, whether you're building an internal tool, a public-facing app, or a platform with third-party integrations. Let's break down each method.
Method 1: API Key
The simplest form of authentication. You generate a unique key and attach it to every request.
GET /api/v1/users
X-API-Key: eak_live_a3f9b2c1d8e7...
Pros
- Easy to implement
- Great for internal tools and server-to-server calls
Cons
- If leaked, anyone can use it
- No expiry by default
- No user identity info
Best for: Internal APIs, CLI tools, server-to-server integrations
How API Key Authentication Works
When a client makes a request, they include the API key in the request header, or sometimes as a query parameter. The server then validates this key against its database before granting access.
The process is straightforward:
- Client sends request with API key in header:
X-API-Key: your_key_here
- Server extracts the key from the request
- Server checks the key in the database or cache
- If valid, request proceeds. If invalid, returns
401 Unauthorized
Security Tips for API Keys
API keys are convenient but come with risks if mishandled. Follow these best practices:
- Never expose API keys in client-side code or public repositories. Use
.envfiles. - Rotate keys regularly and revoke compromised ones immediately.
- Always transmit API keys over HTTPS, never plain HTTP.
- Use scoped keys with minimum permissions.
- Log and monitor all API key usage for unusual activity.
Real World Scenario: API Key in Action
Imagine you're building a weather data service. Thousands of developers want to access your API to fetch temperature readings, forecasts, and humidity data. You don't need to know who each developer is as a person. You just need to track usage, enforce rate limits, and prevent abuse.
In this case, API Key authentication is the perfect fit. Each developer gets a unique key. If one developer exceeds their quota or their key gets compromised, you can revoke just that key without affecting others.
No login flows. No token negotiation. Just a clean and simple string that identifies who is making each request.
When NOT to Use API Keys
API Keys are not the right choice when your API handles sensitive user data, requires user-level authorization, or needs to distinguish between different users and their individual permissions.
For example, a banking API or a healthcare platform should never rely solely on API keys. The risk of a leaked key granting access to sensitive records is too high. In those cases, JWT or OAuth 2.0 provides the necessary security layer.
Method 2: JWT (JSON Web Token)
JWT is a signed token that carries user identity inside it. No database lookup is needed on every request.
eyJhbGciOiJIUzI1NiJ9.eyJ1c2VyX2lkIjoxMjN9.abc123signature
Structure
Header . Payload . Signature
{
  "user_id": 123,
  "role": "admin",
  "exp": 1748000000
}
Pros
- Stateless, no session storage needed
- Carries user data inside
- Short-lived tokens with automatic expiry
Cons
- Cannot be invalidated before expiry
- Token size can grow large
Best for: Mobile apps, SPAs, microservices
Understanding JWT Structure
A JWT consists of three Base64URL encoded parts separated by dots:
Header
Contains the token type (JWT) and the signing algorithm like HS256 or RS256.
Payload
Contains claims, which are statements about the user like user_id, role, email, and the expiry time (exp). These are readable by anyone, so never store sensitive data like passwords here.
Signature
Created by hashing the header and payload with a secret key. This ensures the token hasn't been tampered with.
JWT Security Considerations
Since JWTs are stateless, they cannot be revoked before expiry. This is a critical limitation.
If a token is stolen, you cannot invalidate it until it expires. Mitigate this by:
- Setting short expiry times like 15 minutes for access tokens
- Using refresh tokens to generate new access tokens
- Maintaining a token blocklist for critical logout scenarios
- Always using HTTPS to prevent token interception
Real World Scenario: JWT in Action
Consider a food delivery app where thousands of users log in daily. Each login generates a JWT containing the user's ID, role, and expiry time.
When the user places an order, their mobile app sends the token with every request. The server validates the token signature in milliseconds without a database call, making it extremely fast even at scale.
If the user logs out, the app simply discards the token on the client side. The token remains technically valid until expiry, which is why keeping expiry times short is a critical best practice.
When NOT to Use JWT
Avoid JWT when you need instant token revocation, such as for high-security applications like banking or medical records, where a user's access may need to be cut off immediately.
Also avoid it when your payload grows too large or when your team is not equipped to handle secure key management.
Method 3: OAuth 2.0
OAuth is a full authorization framework. It is used when a third-party app needs access to a user's data without sharing the password.
User → Authorization Server → Access Token → Your App → API
Flow
- User clicks "Login with Google."
- Google returns an access token
- Your app uses that token to call APIs
- Token expires and uses the refresh token to get a new one
Pros
- Industry standard
- Granular permissions with scopes
- Refresh token support
Cons
- Complex to implement
- Overkill for simple use cases
Best for: Public-facing apps, social logins, third-party integrations
OAuth 2.0 Grant Types
OAuth 2.0 supports multiple authorization flows for different use cases.
Authorization Code Flow
Used for server-side web apps. The user logs in, the auth server returns a code, and the server exchanges it for a token.
Client Credentials Flow
Used for machine-to-machine communication where no user is involved. Ideal for microservices.
Implicit Flow (Deprecated)
Previously used for SPAs, now replaced by Authorization Code Flow with PKCE for better security.
OAuth 2.0 Scopes Explained
Scopes define what access a token grants.
For example, when you use "Login with Google", the app requests specific scopes like email or profile. Users can approve or deny each scope, giving them fine-grained control over their data.
This is one of OAuth's biggest advantages over API Keys: granular and user-controlled permissions.
Real World Scenario: OAuth 2.0 in Action
Think about a project management tool like Trello or Notion that wants to integrate with your GitHub account.
You click "Connect GitHub" and get redirected to GitHub, where you see:
"This app wants to access your repositories and create webhooks."
You click Allow.
GitHub issues an access token to the project management tool. That token only has the permissions you approved.
The tool can now read your repos and create webhooks, but it cannot delete repos, access your private profile data, or do anything beyond the granted scopes.
This is OAuth 2.0 working exactly as intended.
When NOT to Use OAuth 2.0
OAuth 2.0 is overkill for simple internal APIs or developer tools that don't require third-party access delegation.
The implementation complexity of managing authorization servers, refresh token rotation, scope definitions, and client registrations is significant.
For small teams or internal APIs, it adds overhead that API Keys or JWTs can handle more simply.
Quick Comparison
How to Choose the Right Method
Use API Key when:
You need quick setup for internal tools, scripts, or server-to-server communication where user identity doesn't matter. Perfect for prototyping and developer tools.
Use JWT when:
You have a mobile app, SPA, or microservices architecture where you need stateless authentication with embedded user data. Great for scalable systems.
Use OAuth 2.0 when:
You're building a public-facing API where third-party apps need access to user data, or you want social login like "Login with Google" or "Login with GitHub". It's the industry standard for delegated authorization.
What Does EazeMyAPI Use?
EazeMyAPI supports API Key authentication out of the box, which is perfect for getting started instantly.
For production apps needing user-level authentication, JWT integration is coming soon.
Here's what you get with EazeMyAPI authentication today:
- Instant API key generation on signup
- Key management dashboard for viewing, rotating, and revoking keys
- Usage analytics and request logging
- Rate limiting per API key
- HTTPS secured endpoints by default
Start securing your API free at eazemyapi
Ready to build your backend?
Create your first project for free. No credit card required.
Get started free